Getting started
This tutorial helps you:
- Obtain a basic understanding of the Exiry backend framework
- Create a new project
- Run an instance of Exiry backend framework
You need to have Node.js 12 ou 14 installed.
You need are familiar with the command line and JavaScript.
Installation
- Clone the Exiry backend repo from Gitlab
git clone git@gitlab.tekru.net:tekru/catu-backend.git
- Install the dependencies
cd catu-backend
npm install
- Run the project
npm start
GraphQL Playground and first query
In non-production environments, Exiry backend uses Apollo Server to serve GraphQL Playground from the graphql URL (http://localhost:8880/graphql by default) to test with your backend IO.
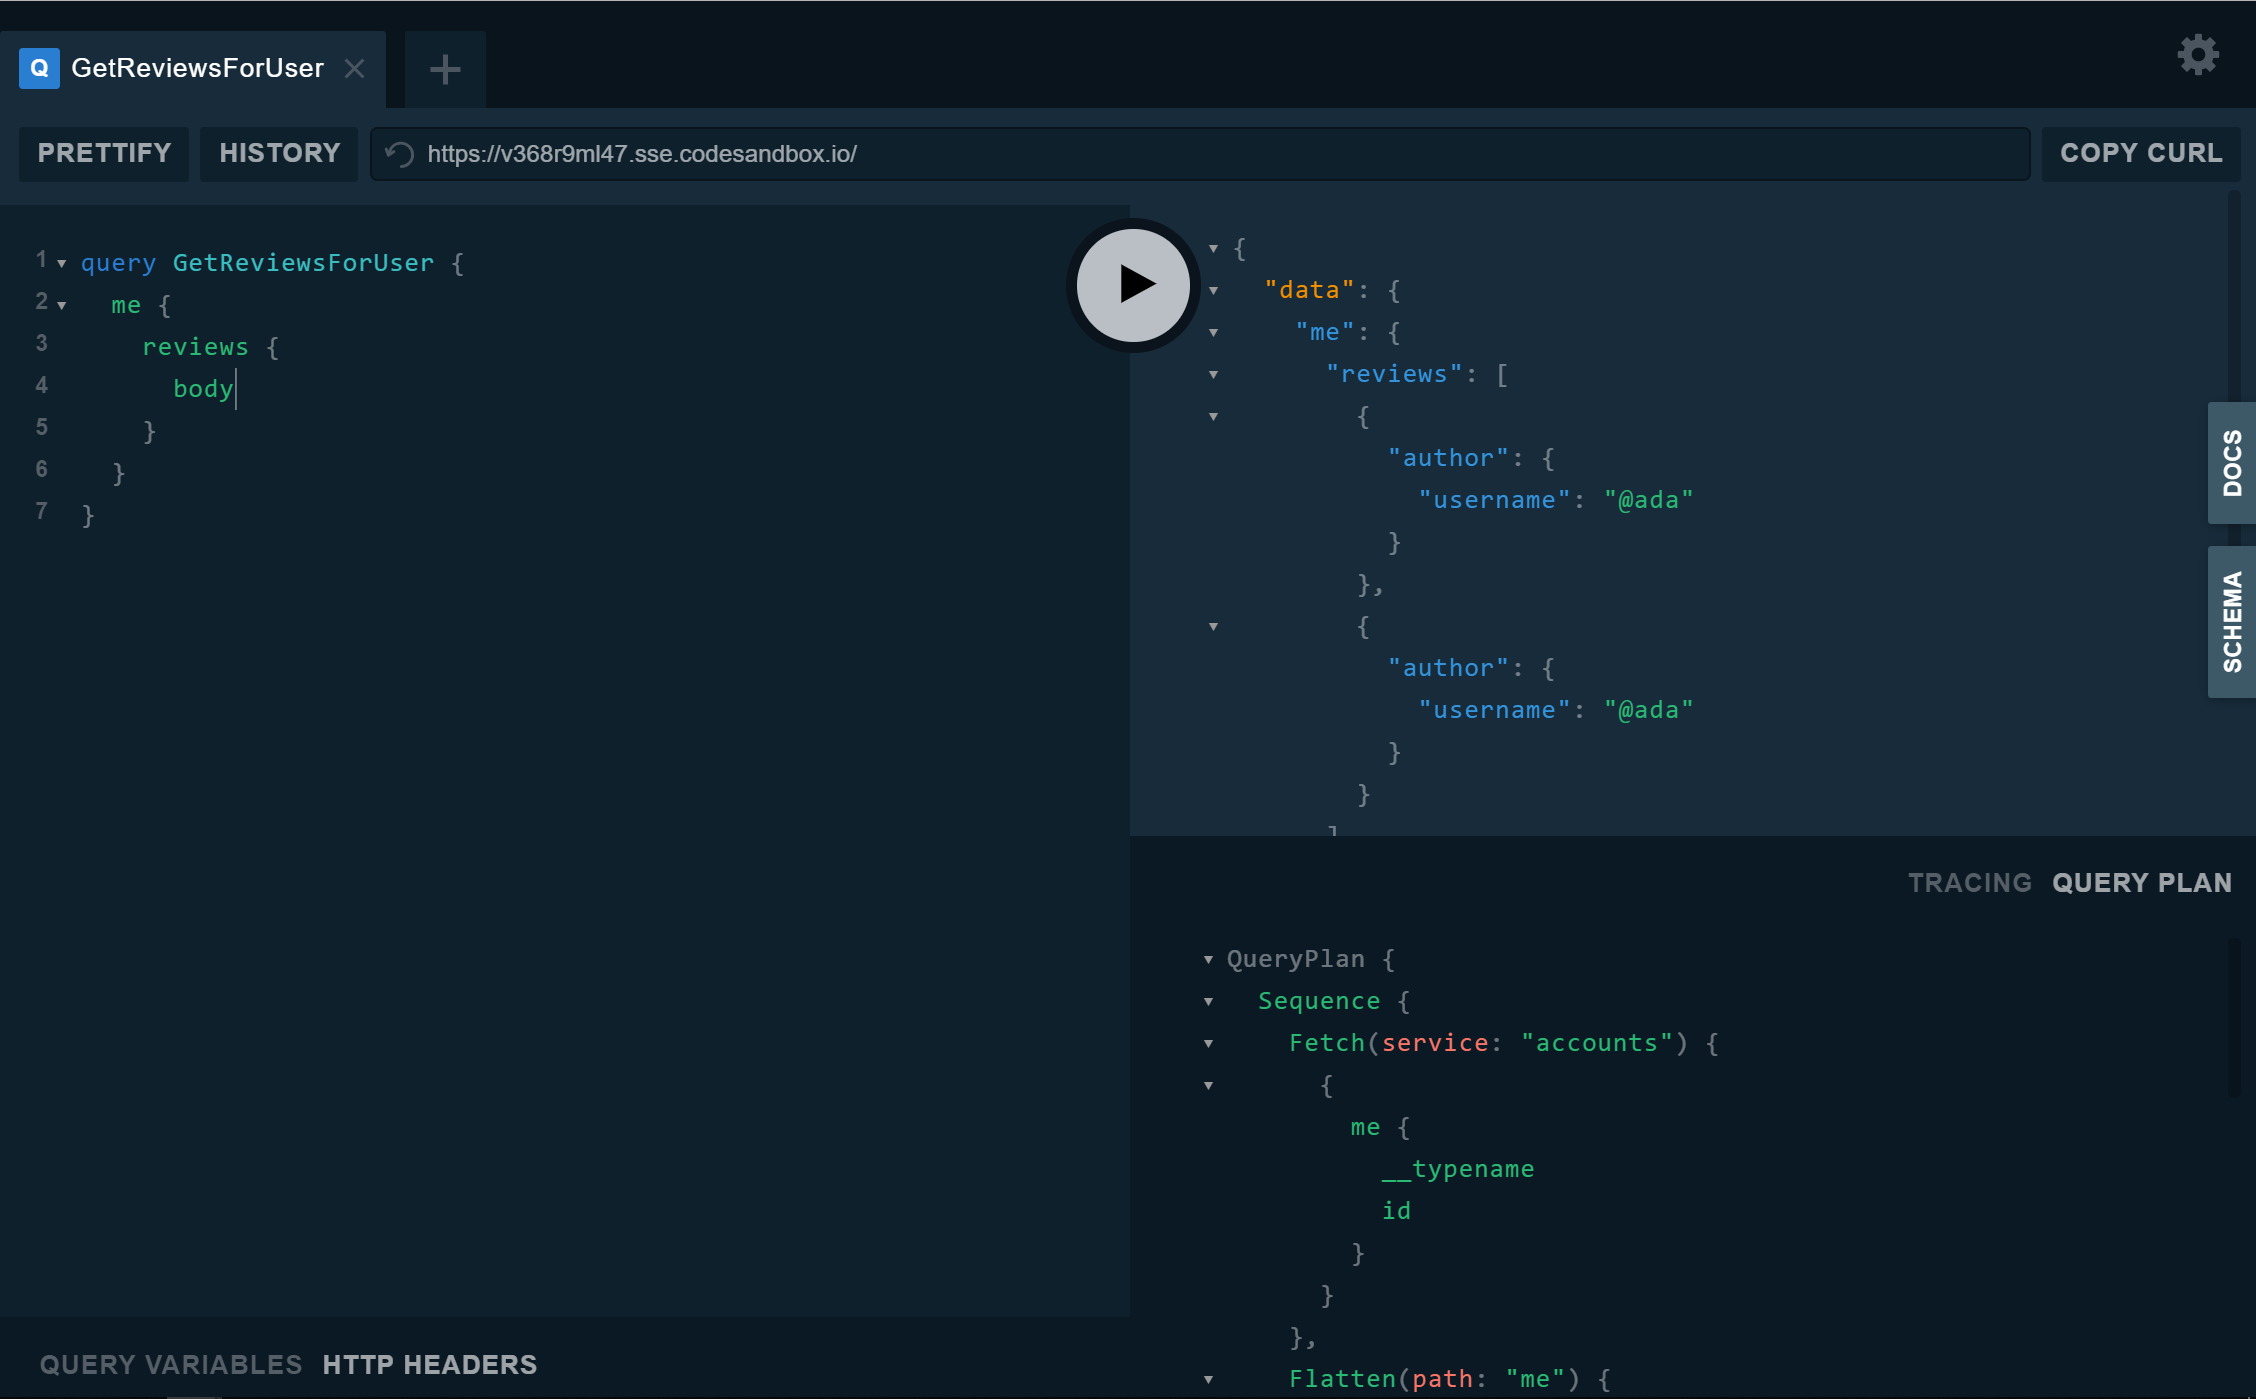
Go the your url, by default http://localhost:8880/graphql and type in the left part of the GraphQL Playground:
query {
  serverInfo {
    running
    version
  }
}
And this is supposed to deliver a json in the right part
{
  "data": {
    "serverInfo": {
      "running": true,
      "version": "1.0"
    }
  }
}
Project structure
The Exiry backend is structured to be easy for use and update. The project contains 3 mains folders:
- assets: used to store non JS/TS files used by the framework, this folder is not accessible by public static serving.
- public: used to serve public static files like images (logos for example), json or users' uploaded assets.
- src: where the JS/TS files goes, the build artifact will be stored in a ./build folder
Any non JS file in the src folder will be ignored by the compiler, so please do not put any JSON or other files in the SRC folder
Files structure
assets # Static assets like translation files or email and PDF templates
├── templates
│  ├── emails
│  └── pdfs
└── i18n
public # Public assets like uploads and images
├── assets
├── uploads
└── index.html
src
├── core
├── main  # Root directory of your app
│  ├── app # Your module lives here
│  ├── helpers # Your app specific helpers
│  ├── libraries # Libs needed for you app
│  ├── migration # DB migration (up or down)
│  └── plugins # Exiry ready-for use module
├── utils # Core helpers for use
└── libraries # Third party libraries
config.json
Dockerfile
package.json
README.md
.gitignore
The ./src structure
The ./src folder is composed of 4 main folders:
- core: contains the Core files of the Exiry backend, please do not touch or edit any files of this folder. If you need to change anything in this folder please ask your tech-leader
- main: where your app is going to live, see the ./main section
- utils: a set of helpers to facilitate your programming journey, see the Utils page for details
- libraries: where Third party libs lives, can be different form a project to an other but not te be confused with ./src/main/libraries
The ./src/libraries is used rarely when you use a third-party lib like Facebook SDK because most of the external third-party lib are installed via NPM.
The ./src/main structure
The ./src folder is composed of 4 main folders:
- app: this is the folder where you put your modules, see Create a new module tutorial to check for example
- helpers: you can write helpers functions in this folders, helpers are sets of functions grouped in JS files by theme
- libraries: where Third party libs custom code lives
- migration: DB base migration files, see Migrations section for details
- plugins: where you put Exiry ready-to-use module, see Plugins section for details
The ./src/main/libraries is used developers need to add more code to a third-party lib like Quikbooks.